Picture this: the thermostat hits 78°, you flip the switch, and instead of a cool breeze you get a wheezing sigh that sounds like a dying cat. That’s the moment every homeowner in San Bernardino wishes they could rewind.
Before you hand over a hard‑earned paycheck for an HVAC test, there are a few insider facts that separate a quick fix from a long‑term solution. From hidden inspection fees to the exact time of year your system should be examined, missing these details can cost you time, money, and comfort.
Ready to avoid the common traps and get the most out of your next service call? Keep reading, and you’ll discover the checklist that turns a routine test into a smart investment for your home.
Understanding HVAC Testing: What It Actually Involves
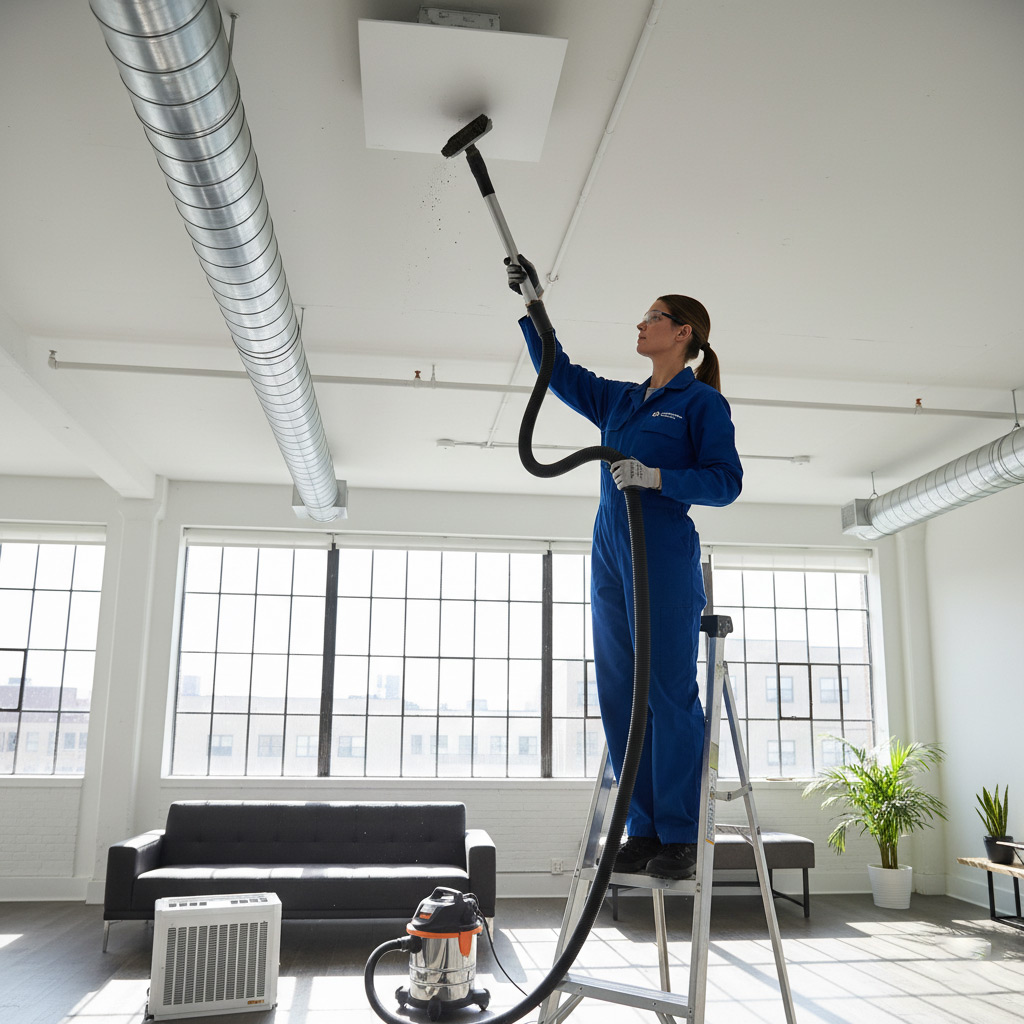
HVAC testing isn’t just a quick glance at the thermostat. It’s a systematic walk‑through where a certified technician measures airflow, checks refrigerant pressure, and validates safety controls. Every component gets a scorecard so you know if the system is ready for summer heat or winter chill.
What the tech examines
- Airflow: Verifies that ducts deliver the right volume of air to each room.
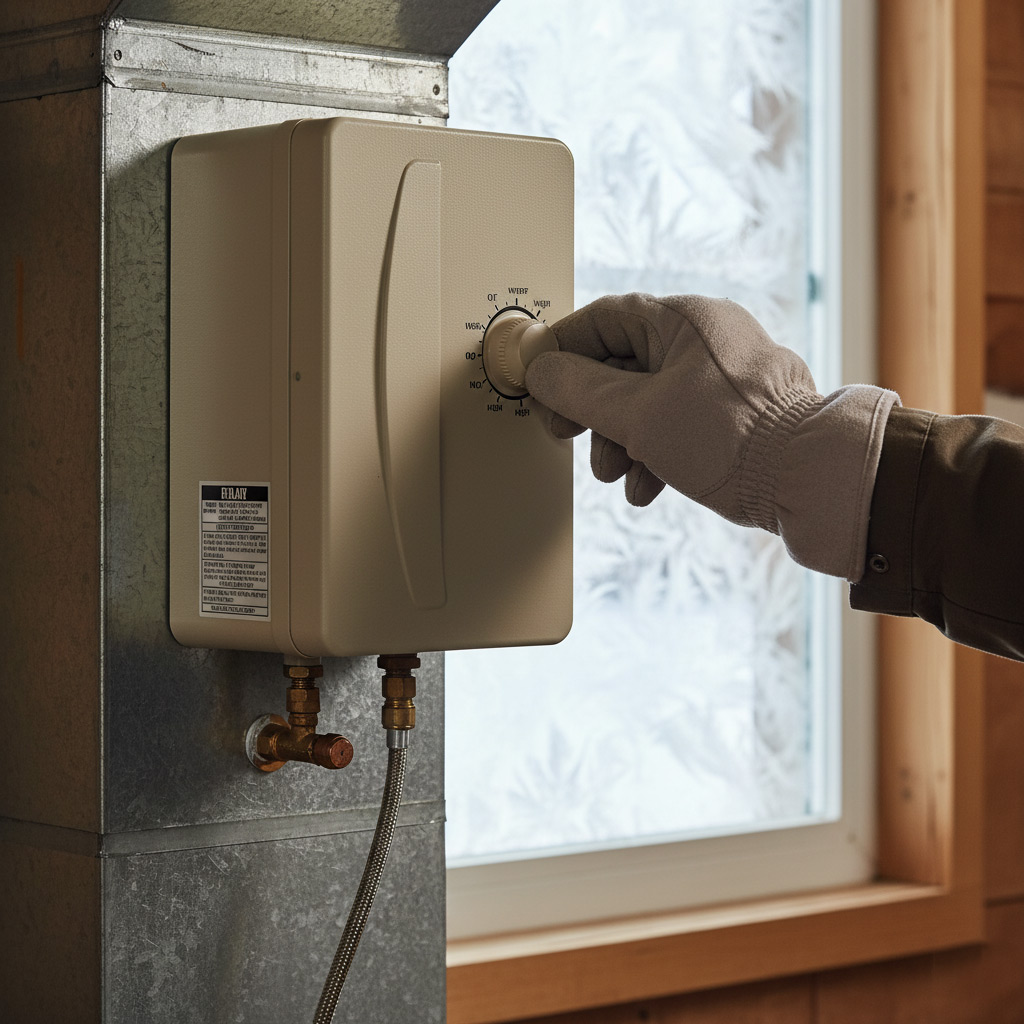
- Thermostat calibration: Makes sure the digital readout matches actual temperature.
- Refrigerant levels: Confirms the charge is neither low nor over‑charged.
- Electrical connections: Looks for loose wires, corroded terminals, and proper voltage.
- Safety devices: Tests limit switches, pressure relief valves, and carbon monoxide detectors.
Why bother? A thorough test catches wear‑and‑tear before it becomes a costly breakdown. Spotting a clogged filter or a slipping belt early can shave dozens of dollars off your energy bill and keep your home comfortable year‑round.
Ideal Seasons and Timing for HVAC Inspections in San Bernardino
Spring: The Sweet Spot
When the desert heat starts to creep up, the system has been idle long enough to reveal hidden wear. Scheduling a test in March or early April lets technicians catch problems before the summer surge.
Why it matters:
- Cooler outdoor temps make pressure checks more accurate.
- Parts are less likely to overheat during diagnostics.
- You’ll avoid the holiday‑season price hikes.
Fall: The Backup Plan
If you missed spring, aim for September or early October. The air is still warm enough to stress the unit, but the humidity drops, giving a clearer picture of airflow issues.
Key benefits:
- Energy bills are still high, so you can see savings right away.
- Technicians have more availability, so you get a thorough walk‑through.
- Any needed repairs can be done before the winter chill sets in.
Scheduling Hacks
Don’t book the first slot you see. The smartest homeowners:
- Call on a weekday morning – crews are fresh and less rushed.
- Ask for a “pre‑season” inspection – it often includes a complimentary filter check.
- Confirm the technician will test both heating and cooling cycles, even if you only need one.
Hidden Fees and Common Costs: Decoding the Service Invoice
What Shows Up on the Invoice
Most homeowners stare at the bill and wonder where the extra dollars came from. Service call fees are the first line item—usually a flat rate for the tech’s travel time.
Next you’ll see a diagnostic charge, which covers the tools and expertise needed to pinpoint the problem. It’s often a separate line, even if the repair is later bundled.
- Labor – billed by the hour or by the job.
- Parts – actual cost plus a markup (typically 15‑30%).
- Disposal fees – for old filters, refrigerant, or broken components.
- After‑hours surcharge – if the tech shows up after 5 p.m.
Typical Cost Ranges in San Bernardino
For a standard residential unit, expect a $75‑$120 service call. Diagnostic fees hover around $50‑$80, but many companies waive it if you approve the repair.
Labor rates in the area run $90‑$130 per hour. Parts can vary wildly: a simple thermostat might be $30, while a new compressor can top $1,200.
How to Keep Surprises Out of Your Pocket
Ask for a written estimate before the tech lifts a wrench. A clear breakdown lets you compare line‑item costs with other quotes.
Don’t be shy about questioning a charge. If a “disposal fee” looks inflated, request proof of the actual disposal cost.
Critical System Components Technicians Examine and Their Importance
When a pro pulls out the diagnostic kit, they’re not just hunting for a broken fan. They’re checking the heart, lungs, and nervous system of your HVAC unit to make sure every part plays nice together. Miss one piece, and you could be paying for a repair that never really fixes the problem.
What the tech looks at
- Compressor – the powerhouse that pressurizes refrigerant; a weak seal here means higher bills.
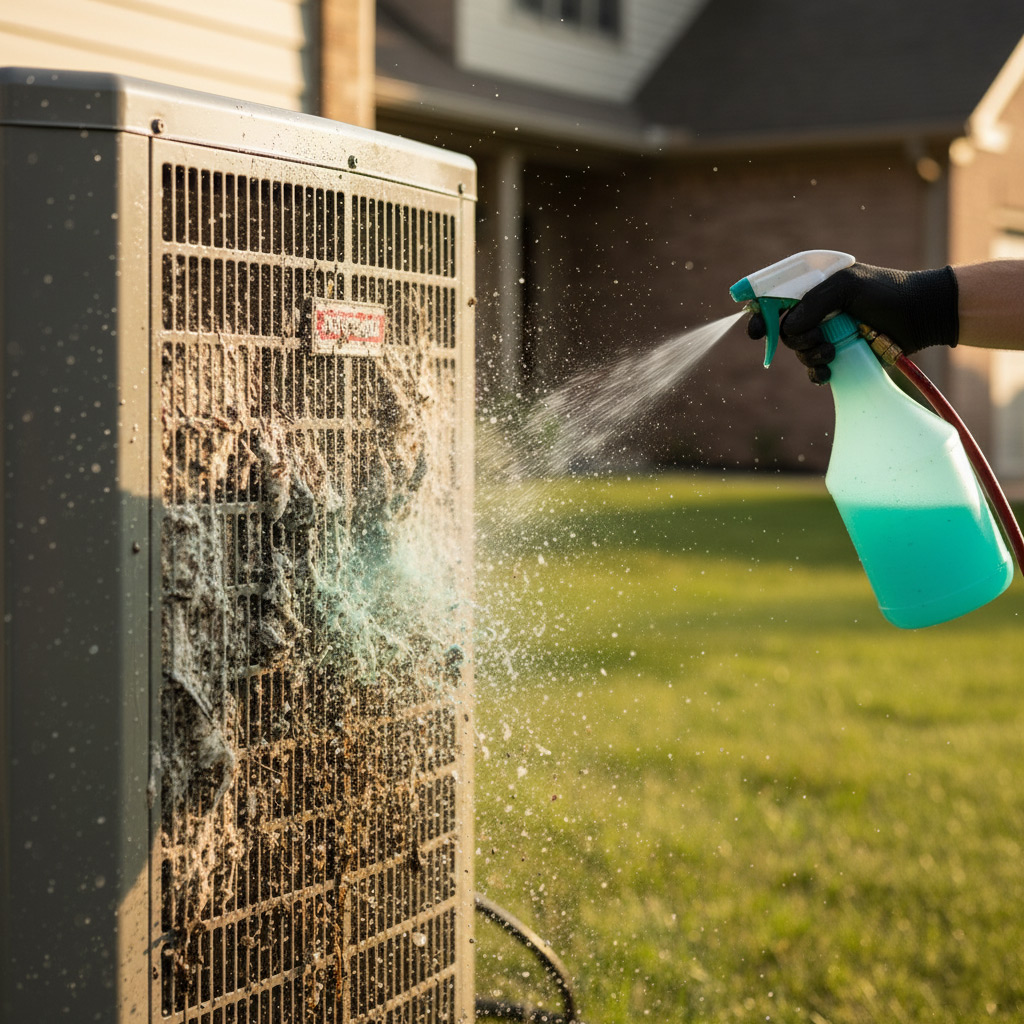
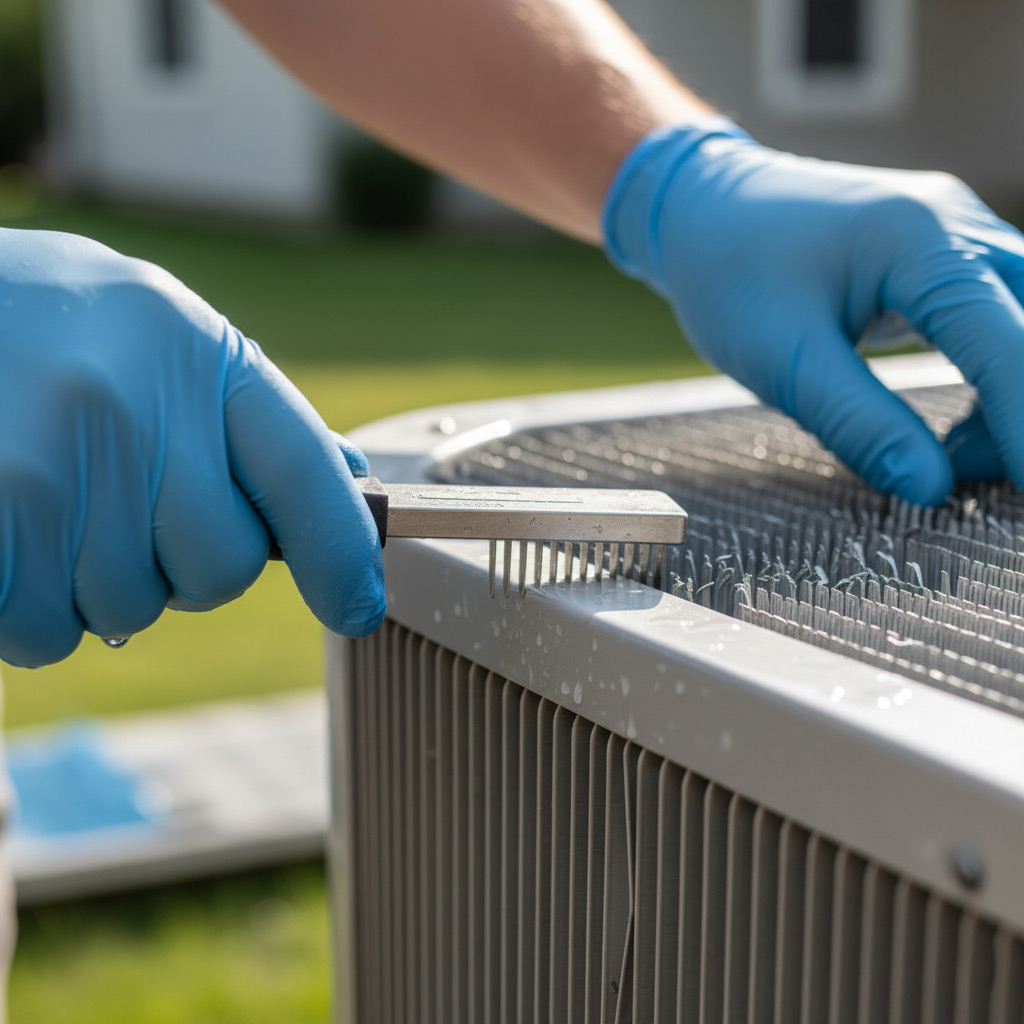
- Evaporator coil – where the magic of cooling happens; dirt or corrosion cuts airflow fast.
- Condenser fan motor – keeps the outdoor unit from overheating; a squeak often signals a bearing issue.
- Thermostat wiring – the brain‑to‑body connection; loose wires cause erratic temperature swings.
- Refrigerant charge – the lifeblood of the system; too little or too much throws the whole cycle off.
Each component has a ripple effect. A clogged coil forces the compressor to work harder, which can fry the motor in weeks. Spotting these signs early saves you from a surprise shutdown when the desert heat hits San Bernardino.
Preparing Your Home for an Efficient and Accurate HVAC Test
First thing’s first: clear the space around your indoor unit. Give the tech a runway of at least three feet on every side. No boxes, no laundry piles, no pet toys—just open air.
Check the Thermostat and Vents
Make sure the thermostat is set to “off” before the technician arrives. This prevents false readings and saves everyone a few minutes.
- Turn off any ceiling fans or portable AC units.
- Verify that all supply and return vents are unblocked. A couch leg or a stray rug can skew airflow data.
- Replace missing vent covers; a gap is a gap in the data.
Secure Power and Access
Locate your main breaker and label the HVAC circuit. If the tech can’t find it quickly, they’ll waste time hunting.
- Clear the area around the outdoor condenser. Trim back shrubs at least two feet; leaves and debris love to hide in the coils.
- Check that the service panel door isn’t locked. A simple key or a quick call to the homeowner can save a half‑hour.
- Make sure pets are in a separate room. A curious cat on the coil is a nightmare for both parties.
Case Study: How Proactive Testing Saved a San Bernardino Homeowner $1,200
The Situation
When the Martinez family noticed a slight drop in airflow during a scorching July, they called a local tech out of habit. The technician suggested a full‑system overhaul, quoting a price that would have emptied their savings.
Instead, the homeowner asked for a detailed inspection report before signing anything. That simple request turned the whole story around.
The Inspection
The tech ran a comprehensive test and uncovered three low‑key issues that were easy to fix.
- Dirty evaporator coil – a quick clean would restore efficiency.
- Loose blower belt – tightened in minutes, no parts needed.
- Minor refrigerant leak – sealed with a $45 patch kit.
Each fix took under an hour and cost less than $150 total.
The Savings
Because the Martinez family acted before the system failed, they avoided:
- Replacing a $1,200 compressor that would have been the next step.
- Emergency service fees that spike in the heat of summer.
- Higher utility bills caused by a struggling unit.
In the end, they spent roughly $200 on repairs and saved $1,200 in avoided replacement costs. A proactive test turned a potential disaster into a small, manageable bill.
Final Words
When you know what to expect, the whole HVAC test feels less like a gamble and more like a smart move. Ask for a written scope before the tech rolls in, and watch the invoice stay tidy.
Take Action Today
- Call your trusted San Bernardino service before the heat peaks.
- Ask for a pre‑inspection checklist – it’s free and saves time.
- Confirm the price includes labor, parts, and any travel fees.
Keep this page handy and revisit the HVAC Testing And Inspection hub whenever you’re ready to book. A little prep now means a cooler, quieter home later.
People Also Ask
What does a standard HVAC test include in San Bernardino?
A standard HVAC test checks airflow, refrigerant levels, thermostat accuracy, and system safety controls. Technicians also inspect ductwork for leaks and verify proper combustion in gas furnaces.When is the best time of year to schedule an HVAC inspection?
The ideal seasons are early spring and late fall, when the system isn’t under extreme load. This timing allows technicians to address issues before summer heat or winter cold.Are there hidden fees I should watch for on the service invoice?
Common hidden costs include travel surcharges, after‑hours service premiums, and fees for additional parts not covered in the base quote. Ask for a detailed estimate before work begins to avoid surprises.Which HVAC components are most critical for technicians to examine?
Technicians focus on the compressor, evaporator coil, blower motor, heat exchanger, and thermostat. These parts directly affect efficiency, safety, and overall system performance.How can I prepare my home for an accurate HVAC test?
Clear access to the indoor and outdoor units, replace or clean filters, and ensure vents are unobstructed. Providing a clear work area helps the technician complete a thorough inspection quickly.San Bernardino HVAC brings over 20 years of residential and commercial climate‑control expertise to the San Bernardino community. Their team of certified technicians delivers reliable heating, cooling, and indoor‑air‑quality solutions tailored to local needs. Committed to responsive service, they keep homes and businesses comfortable year‑round.
Need HVAC?
Fast, results‑focused service that gets the job done in San Bernardino and surrounding ZIPs (92401, 92404, 92373, 92354, 92324). Our teams prioritize speed and quality to keep your projects moving forward.
Request a fast quote